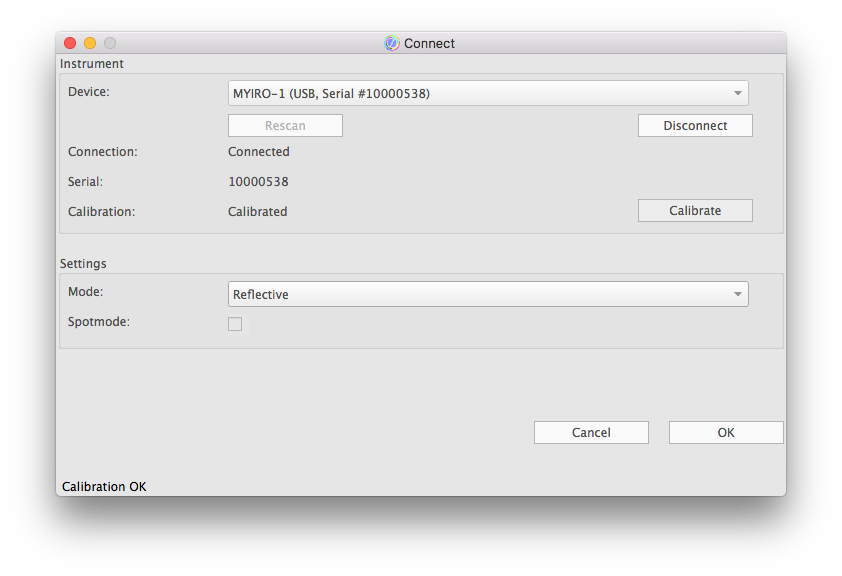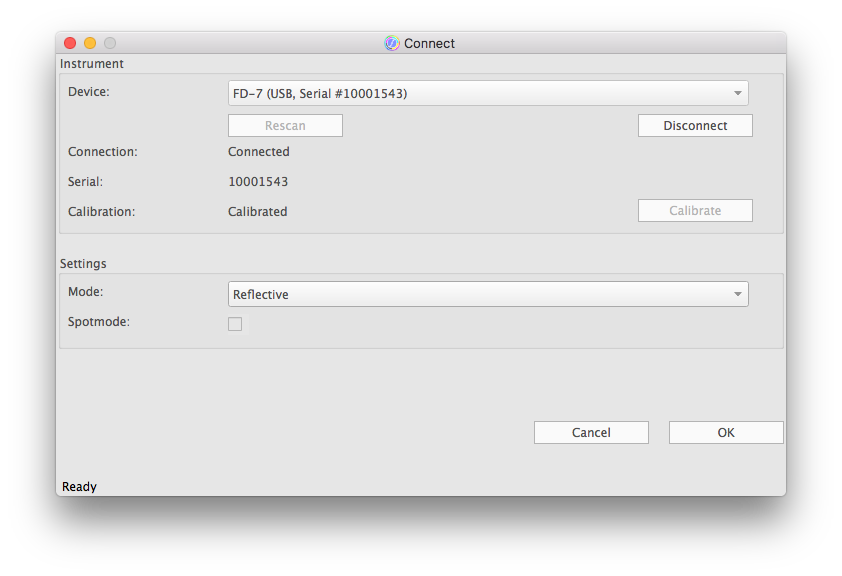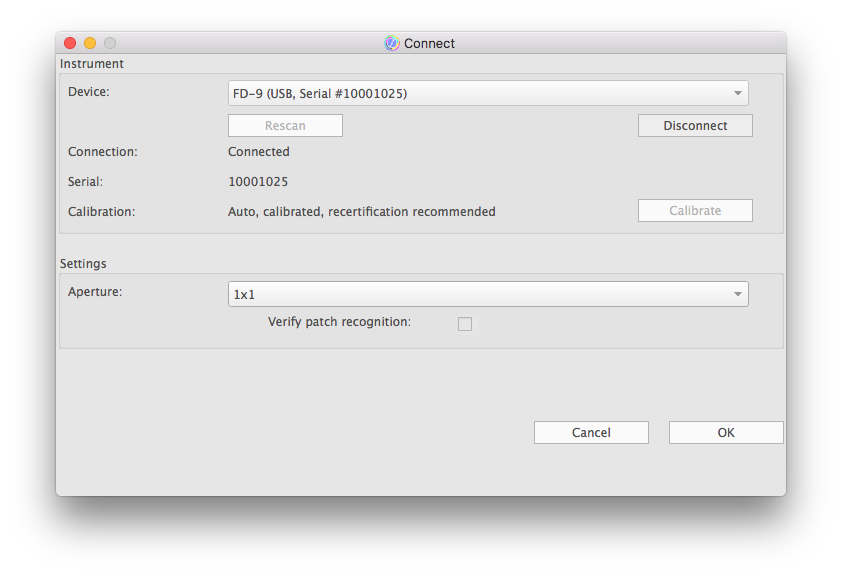
Connect Instrument Dialog
Connecting Instruments
Color Manager has interfaces to the following spectrophotometers:
MYIRO-1 | USB / Network (Wireless LAN) |
FD-7 / FD-5BT | USB |
FD-9 | USB / Network (Ethernet) |
i1Pro / i1Pro 2 | USB |

The "Auto" setting of “Device” searches for all devices.
If you preselect a device type, only it will be searched. In this way you can shorten the scanning time if necessary.
If your device does not appear in the list, check the following:
- Device switched on and ready?
(MYIRO-1 Wireless LAN connection: Check charge level;
if Battery Indicator is flashed, the device should be charged via USB) - Electrically correctly connected?
(USB cable / network cable) - Device correctly configured?(network settings)
For details, see the instrument manual.
Then click the Rescan button to rescan USB ports and network.

If a device is connected to the computer via two interfaces (USB and network), it appears twice in the list after the scan. Select the interface to be used to connect the device. Then click on the "Connect" button.
Feedback from the measuring instruments:
MYIRO-1 | Status Indicator: Change of color: - orange: instrument switched on, but not connected - yellow: connected, but not yet calibrated Wireless LAN Indicator: before establishing the connection: - orange: network available and connected - orange flashing: network search after switching on the device - off: no networkavailable after establishing the connection with Color Manager: - on: networkconnection - off: USB connection |
FD-7 / FD-5BT | Device display shows "communicating…” |
FD-9 | Device display shows "Please insert chart" |
i1Pro | No feedback at the device |
i1Pro 2 | Device Status Indicator on the device lights up |
Feedback of the Connect dialog:
If a measuring instrument has been successfully connected, the “Connect” dialog shows the “connect” status "connected" and at least the serial number of the measuring instrument.
Calibration of Instruments
Measuring instruments must be calibrated before a measurement. This is done in different ways depending on the instrument.
MYIRO-1 | If necessary, remove the calibration cap from the storage shaft at the back of the instrument and attach it to the measuring optics. Now click on the "Calibrate" button. Afterwards, insert the calibration cap back into the storage shaft to protect it from dust. During calibration, the color of the Status Indicator changes: yellow: device connected, but not yet calibrate light blue flashing: calibration in progress blue: ready to measure (calibration successful) If you store the instrument after use, it is best to reattach the calibration cap to the limiting aperture. This provides optimum protection for the protection glass and the calibration tile. This means also that the MYIRO-1 is already prepared for calibration the next time it is used. |

FD-7 / FD-5BT | With the FD-7 and FD-5BT you trigger the calibration on the measuring instrument. Simply make a spot measurement on the calibration tile. Attach the spot measuring shoe to the FD-7/FD-5BT. Place the measuring instrument including the spot measuring shoe on the calibration tile. Press the FD-7/FD-5BT down until calibration is complete. After successful calibration, the Connect dialog will show the calibration status "calibrated". Optionally, you can skip the calibration with the FD-7 / FD-5BT, if you have already carried it out before the connection with the software via the display of the measuring instrument. |


FD-9 | The FD-9 calibrates itself automatically at regular intervals. during the measurement. No manual calibration is necessary. |

i1Pro / i1Pro 2 | Place the measuring instrument on the calibration tile and click on the "Calibrate" button. Please do not forget to remove the dust protection slide before using the i1Pro 2 and to protect the tile afterwards with the slide again. |

Preconfigure measuring instruments
Depending on the connected measuring device, additional parameters for the respective device appear in the lower part of the window.
For the FD-9, for example, the size of the virtual aperture (multiple measurements: 1x1, 2x2, 3x3, 4x4 measurements per measurement field) and the pattern recognition behavior can be preselected here.
These settings are transferred to the measurement window as default settings. They can also be changed by the user in the measurement window afterwards. Details on these parameters can be found in chapter "5.1.2.1 Device Settings".
Chart definitions can also contain specifications for these parameters so that the optimum instrument parameters are automatically set when the chart is selected.
 in the upper-right of a page, it turns into
  and is registered as a bookmark.