[HDD Store]
Overview
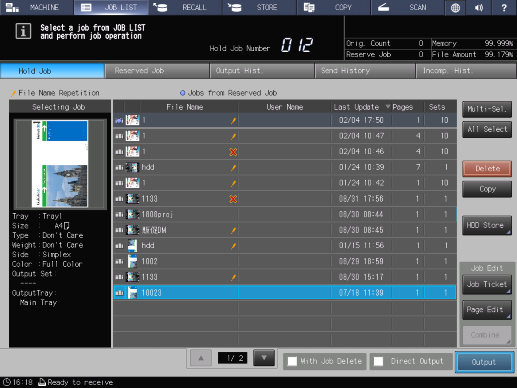
Store a hold job on the HDD.
Each time a column on the header is clicked, items in the column are sorted in ascending or descending order.
- This item is displayed on a product equipped with a scanner and HDD. For details, refer to What Is the [Hold Job]?.
- The hold jobs on the HDD are retained even if the system is turned off.
- Also, jobs on the HDD can be recalled as hold jobs. For details, refer to [Output Method].
Specifications
Category | Print Workflow, Copy / Scan | ||
Location | Machine | Touch Panel | |
Printer driver | - | ||
Application | - | ||
Required options | - | ||
Required items | - | ||
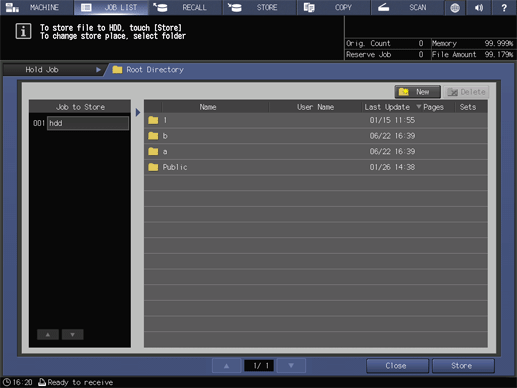
Setting items | [Job to Store] | Displays the name of the job to change from hold job to HDD store job. | |
[New] | Creates a folder or box to store hold jobs on the HDD. For details, refer to [New]. | ||
[Delete] | Deletes the selected folder or box on the HDD. | ||
[Name] | Displays the folder name, box name, or job name. | ||
[User Name] | Displays the name of the user who performed an HDD storage operation when user authentication is enabled. | ||
[Last Update] | Displays the date and time when the job was stored on the HDD. | ||
[Pages] | Displays the number of pages for HDD store job. | ||
[Sets] | Displays the number of sets for HDD store job. | ||
[+] / [,] | Switches the page to display. | ||
[Store] | Stores a job in the selected folder or box. | ||
[Close] | Moves to the previous screen. | ||
Remarks | - | ||
Reference | - | ||
Screen access | Touch panel - [MACHINE] - [JOB LIST] - [Hold Job] - [HDD Store] | ||
Procedure


The [Root Directory] screen is displayed.


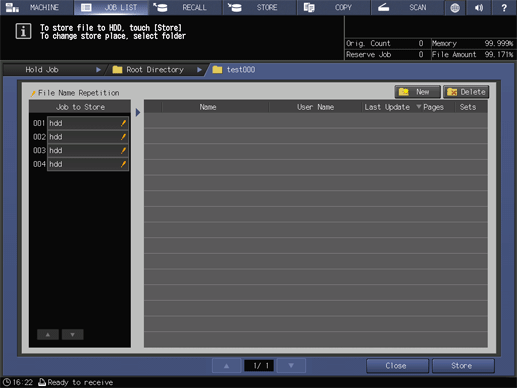
If the target folder or box is password-protected, enter the password.
Pressing [New] allows you to create a new folder or box.


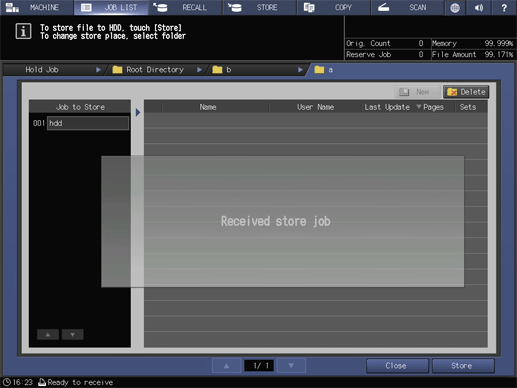
The job is stored on the HDD.
If the file name of the job is duplicated, the confirmation dialog box is displayed. To store the job as it is, press [Yes]; otherwise, press [No].


 in the upper-right of a page, it turns into
  and is registered as a bookmark.